Part 1: Backing up configuration
Prepare backing up configuration
The RICOH Easy Migrate tool works in two parts. In this first part, the old machine is backed up, this means a copy of the configuration is made. This page describes how to make a backup of your current (multifunctional) printer.
Your current (multifunctional) printer may have been given a different password during installation. This password is needed to retrieve the configuration from your (multifunctional) printer. Keep the (multifunctional) printer password on hand, your system administrator may be able to help you get this information.
Keep the serial number of the current (multifunctional) printer on hand to confirm the (multifunctional) printer.
Prepare backing up configuration checklist
- (Optional) Password current (multifunctional) printer
- Serial number (s/n) current (multifunctional) printer
Step 1: Search for available (multifunctional) printer
By clicking on the “Start searching” button the RICOH Easy Migrate tool will start scanning for available (multifunctional) printers in your network.
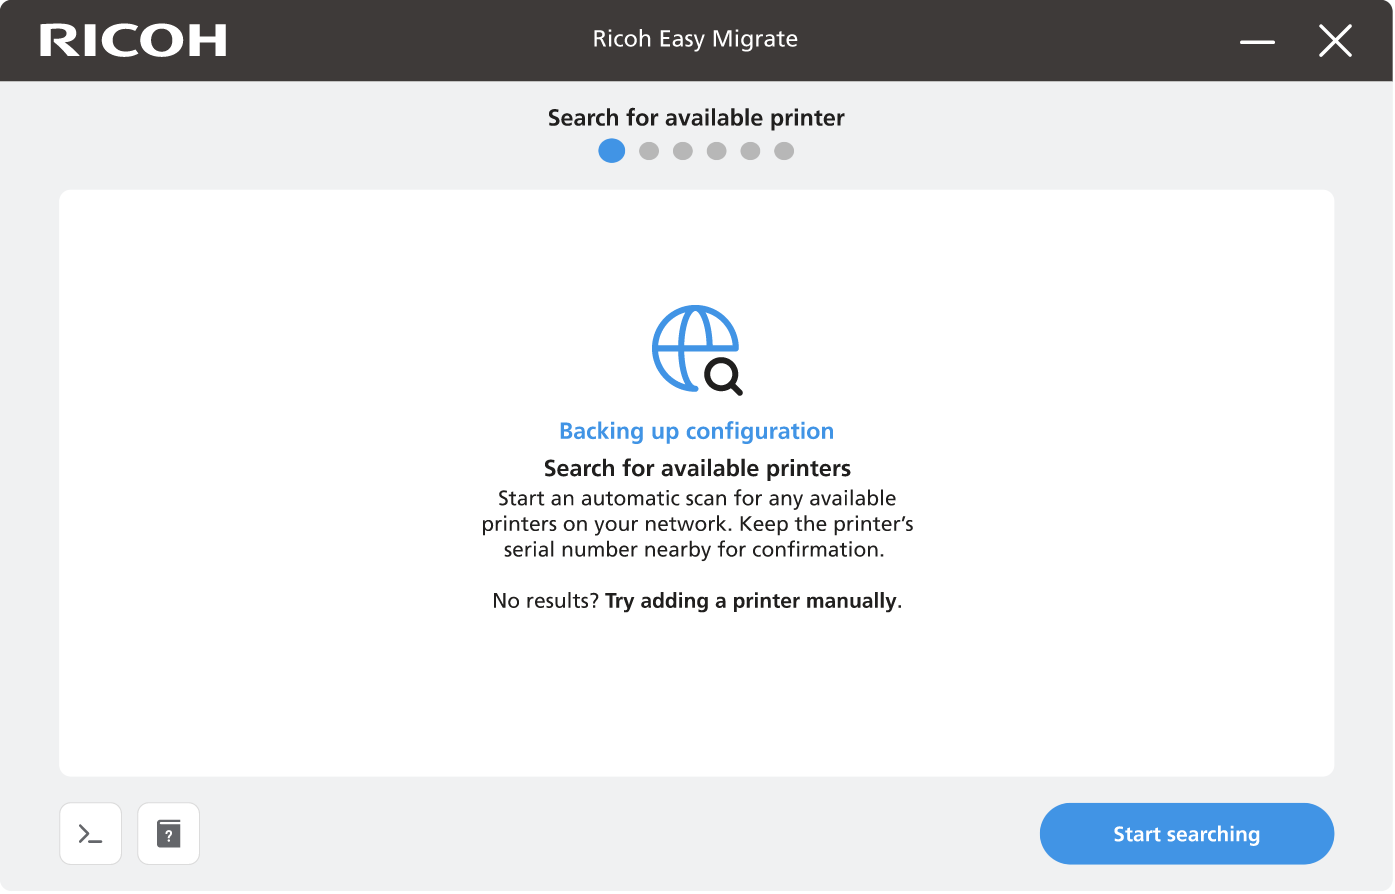
Search for available (multifunctional) printer screen
After the scan has completed, you will see the found (multifunctional) printers in your network. Check if the correct (multifunctional) printer is found based on the serial number.
If the correct (multifunctional) printer is NOT found, add the (multifunctional) printer manually by IP address. Open “Add (multifunctional) printer manually” in the left menu for more help.
When the correct (multifunctional) printer is in the list, you can select one to use for the backup by clicking on the box. After selecting a (multifunctional) printer, the button “Connect to printer” will become available to click.
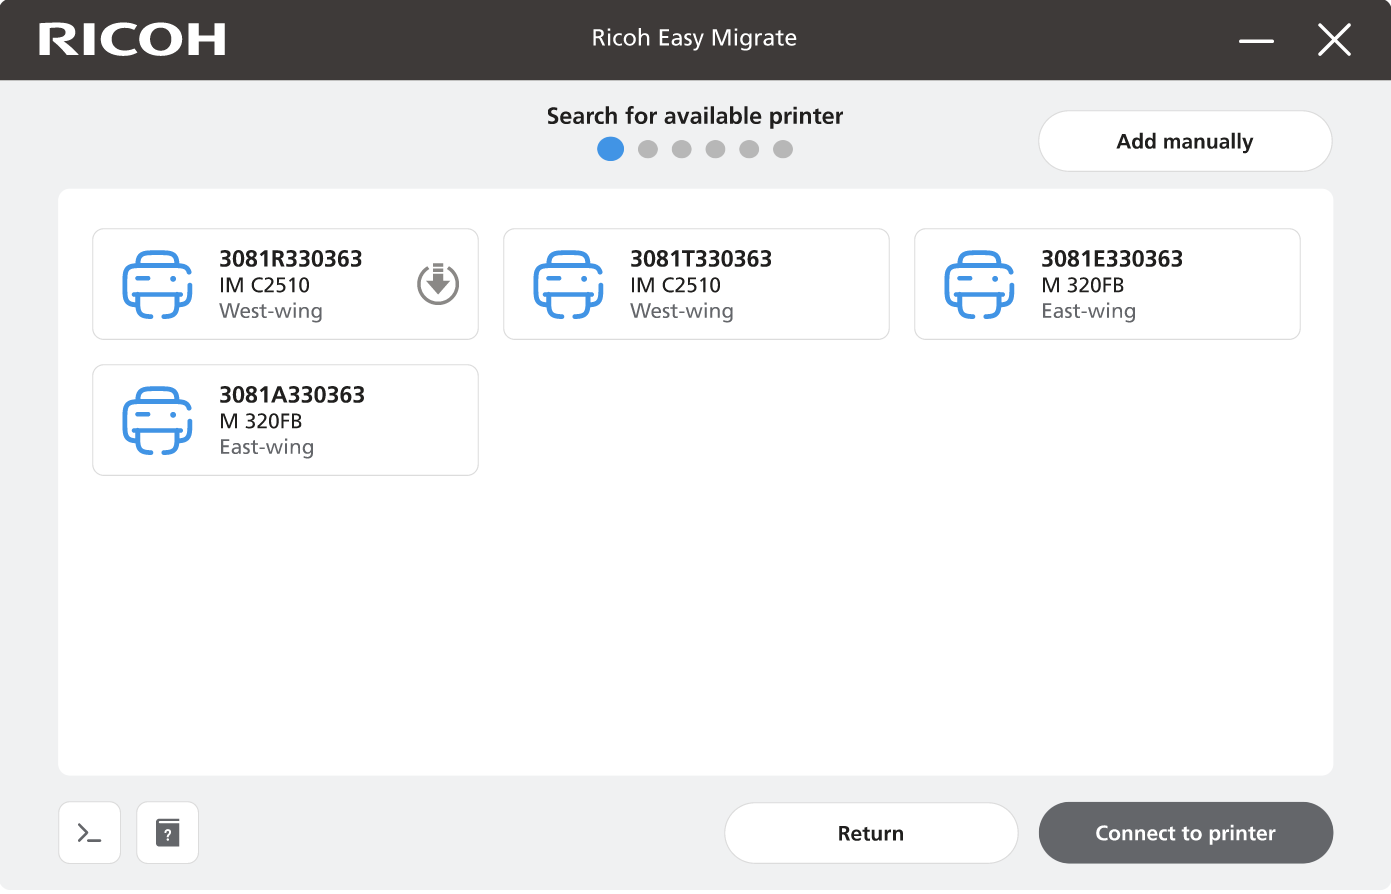
Found (multifunctional) printer screen
Step 2: Connecting to (multifunctional) printer
After clicking “Connect to printer” the application will attempt to sign in to the selected (multifunctional) printer with the default credentials.
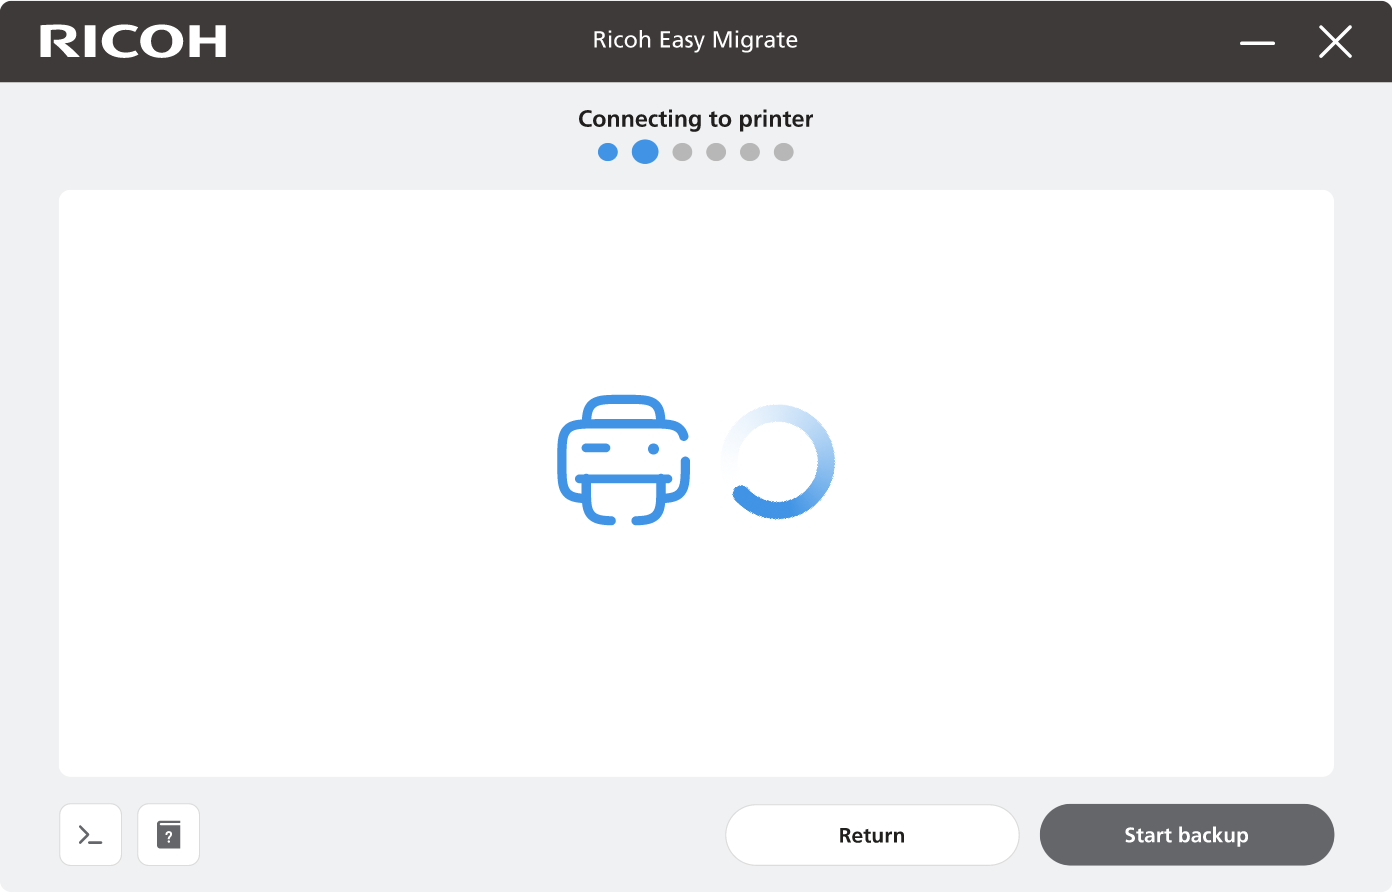
Connecting to (multifunctional) printer screen
If the default credentials fail, you will be prompted to sign in using the password of your current (multifunctional) printer. In most cases, the username is: “admin”. Your system administrator may be able to help you get this information. Click on “Connect to MFP” to check the entered credentials and connect to the (multifunctional) printer.
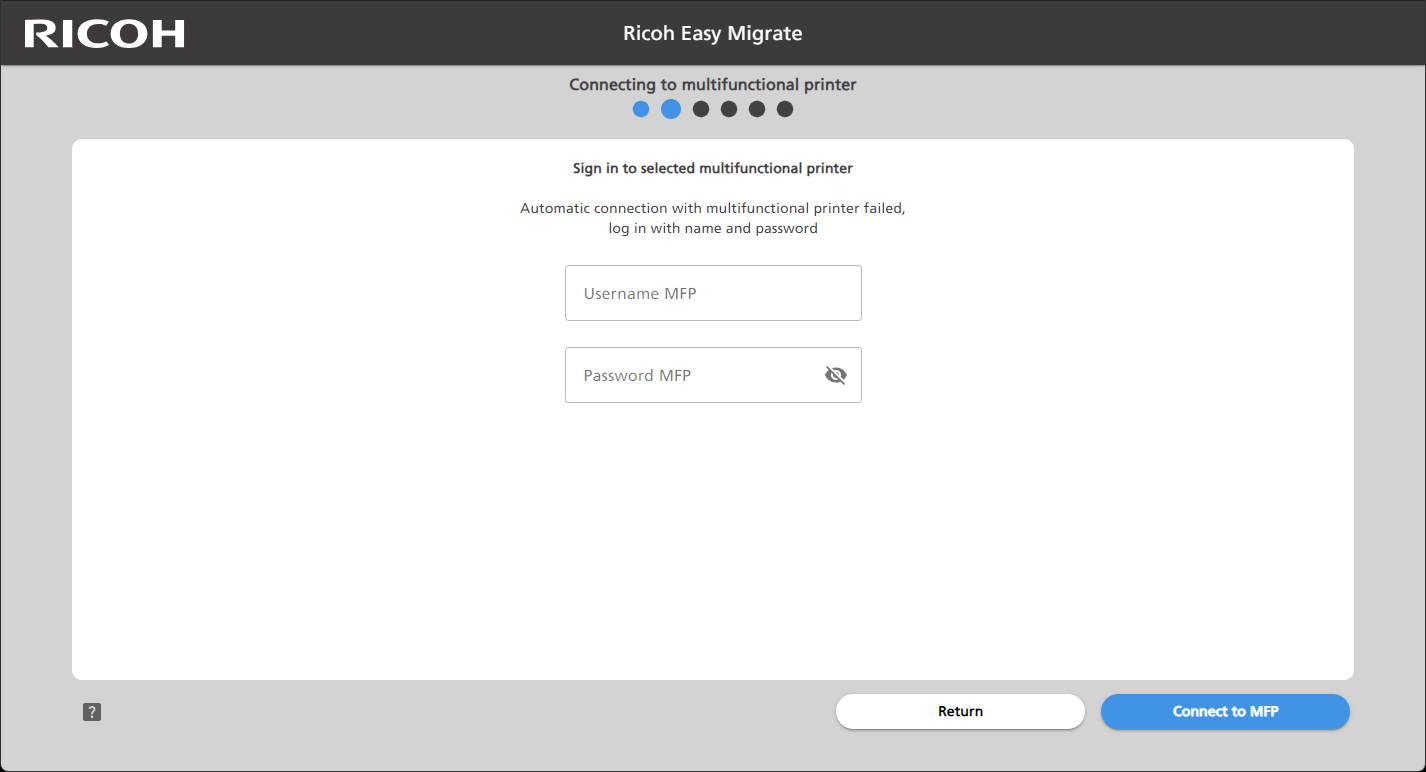
Sign in to selected (multifunctional) printer screen
Step 3: Summary of connected (multifunctional) printer
In the screen that follows, the RICOH Easy Migrate tool presents a summary of the next steps. Check again that the correct (multifunctional) printer is selected and click "Start backup". If the correct (multifunctional) printer is not selected, click “Return” and return to “Step 1”.
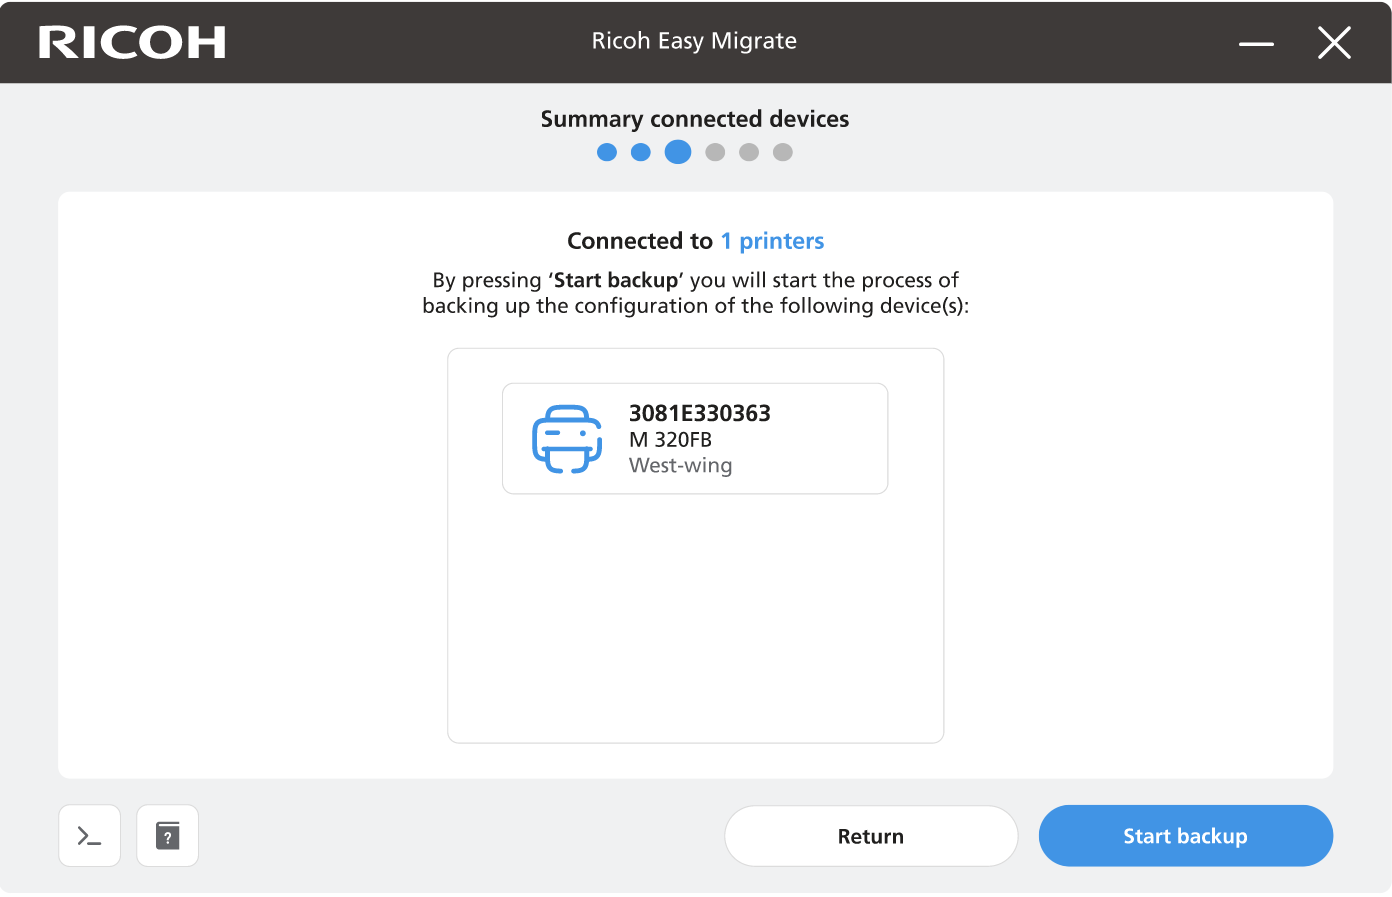
Summary of connected (multifunctional) printer screen
Step 4: Backing up configuration from (multifunctional) printer
The Ricoh Easy Migrate tool will now proceed to back up the configuration of the selected (multifunctional) printer. The backup will usually be made in less than 30 seconds.
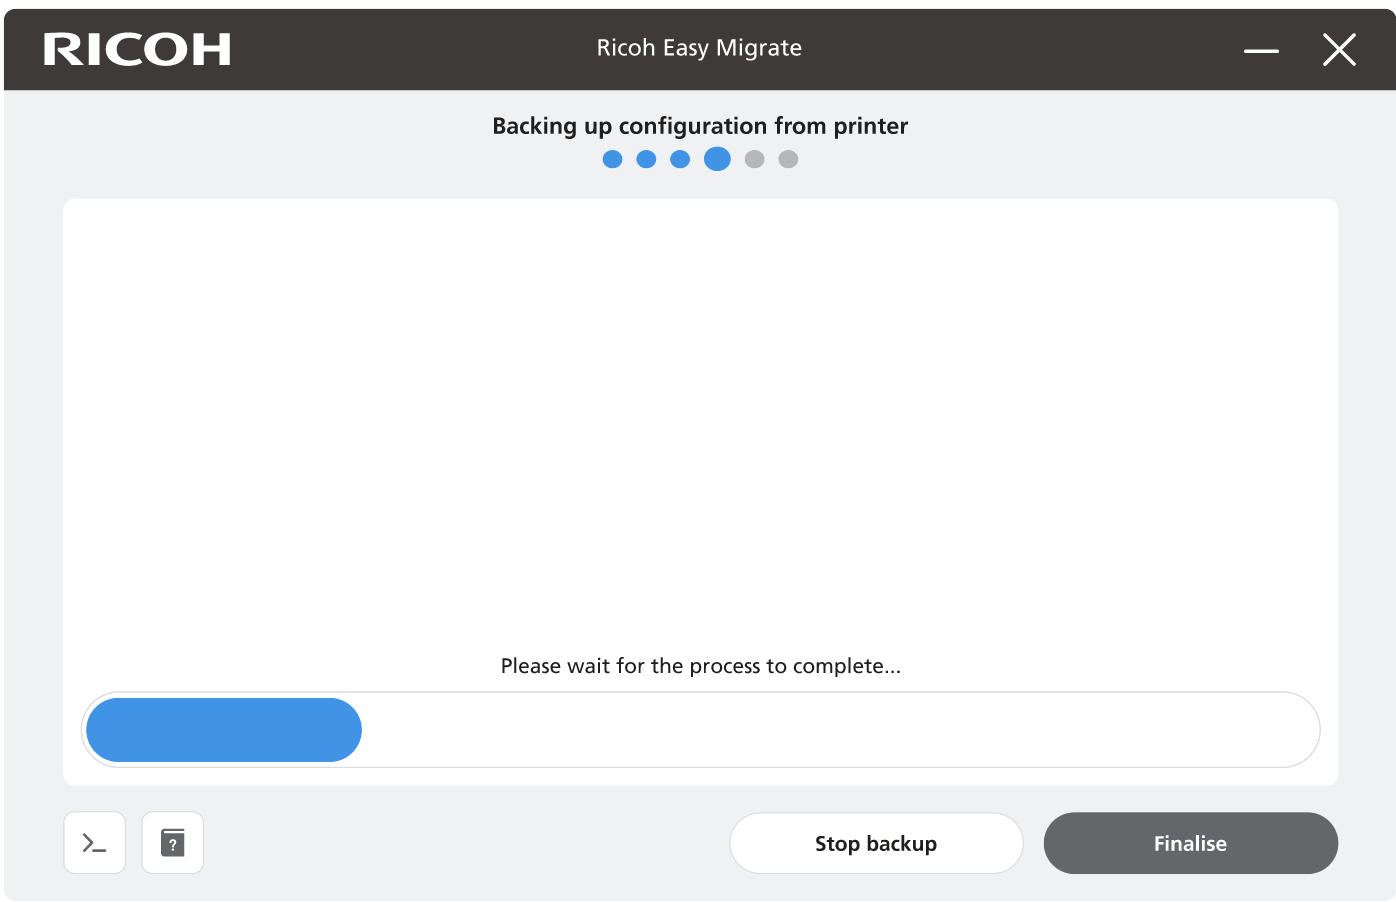
Processing backing up screen
A backup may fail if there is no steady network connection to the (multifunctional) printer. Retry the backup and if the error persists, please contact your local Ricoh representative. Help and support | Ricoh Europe (ricoh-europe.com)
When the RICOH Easy Migrate tool has finished making the backup, you should see a screen similar to this:
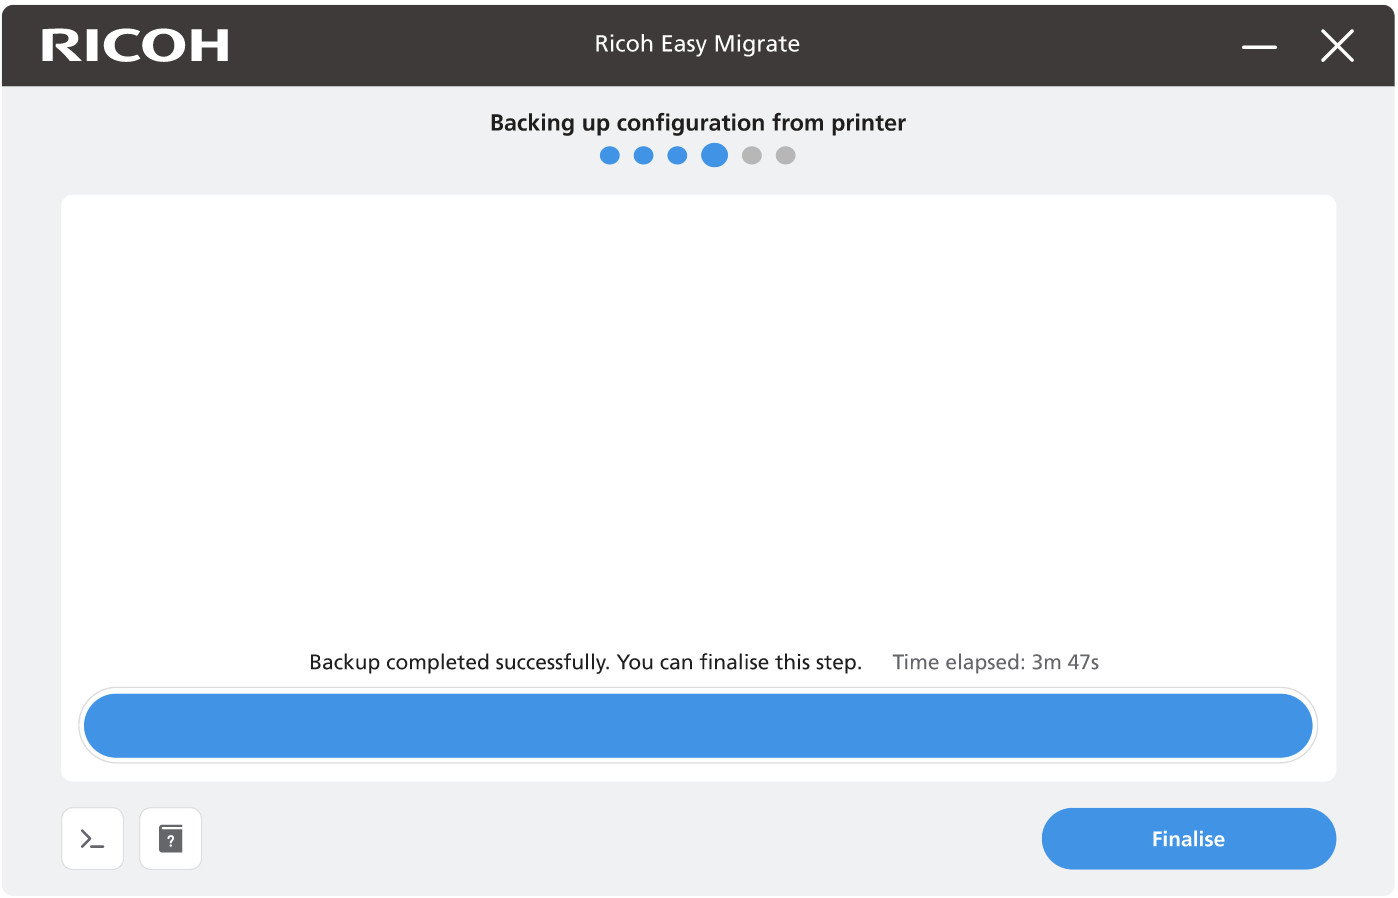
Backup completed successful screen
Click “Finalise” to continue.
Step 5: Finalise configuration backup
At this point, the RICOH Easy Migrate tool will ask you to switch your new (multifunctional) printer and your current (multifunctional) printer.
Turn off your current (multifunctional) printer (wait until the status light stops blinking) and disconnect the network cable.
Make sure you connect the network cable to the new (multifunctional) printer before turning it on.
The on and off button of (multifunctional) printer is often found on the front at knee height.
Make sure your new (multifunctional) printer is fully booted before checking the checkbox and clicking on “Continue to restore”.
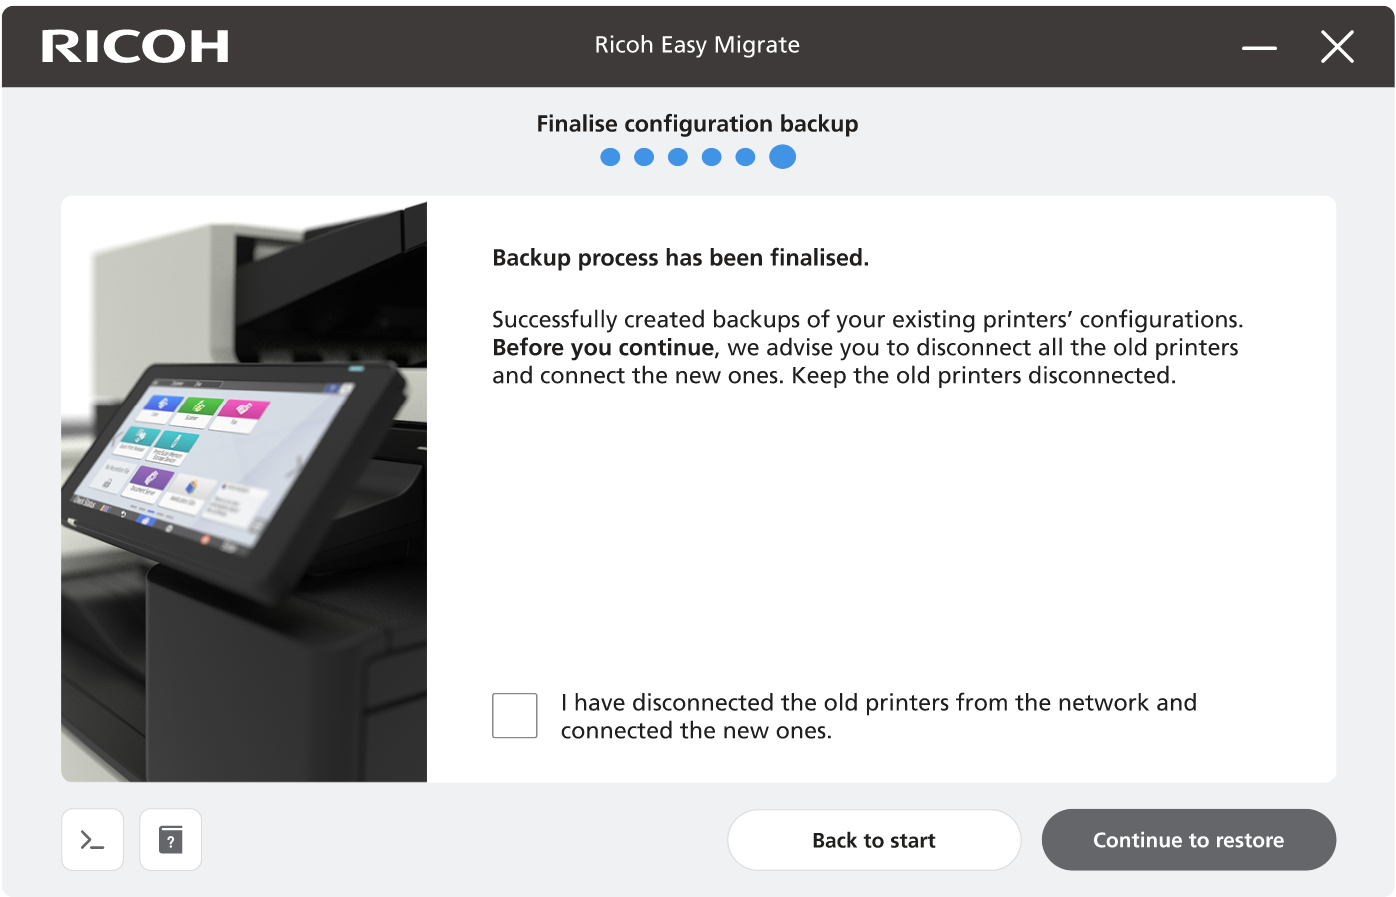
Finalise configuration backup screen
Next steps
You have now made a backup of the configuration of your current (multifunctional) printer. In the second part of the Ricoh Easy Migrate tool, a restore is performed on the new (multifunctional) printer, at that point all configurations are made on the new (multifunctional) printer.
The following steps will guide you on the restore of the backup to the new (multifunctional) printer. Continue with “Part 2: Restoring configuration”.

