Step-by-step migration
Before you start (Terms of Use and Language)
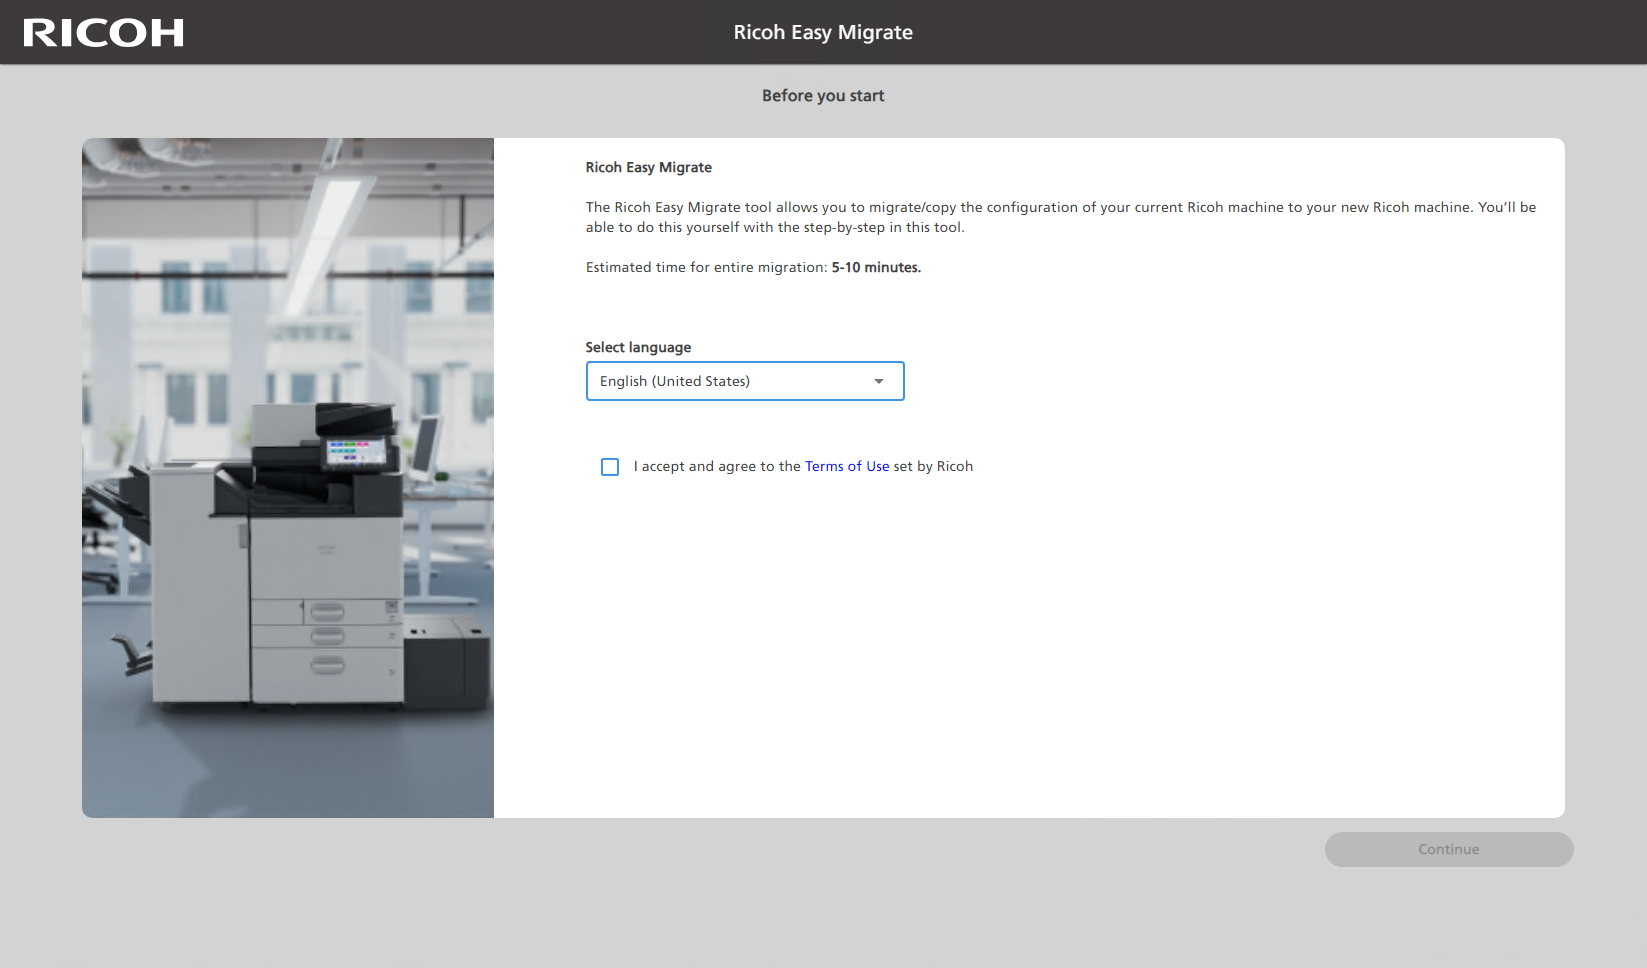
When the RICOH Easy Migrate tool starts, it will ask you to select a language. By default, the language is set to “English (United States)”, but this can be changed. If the RICOH Easy Migrate tool starts for the first time, it will ask you to accept and agree to the Terms of Use set by Ricoh. After you check the checkbox to accept and agree to the Terms of Use set by Ricoh, click “Continue”.

Language and Terms of Use screen
Before you start (Prepare)
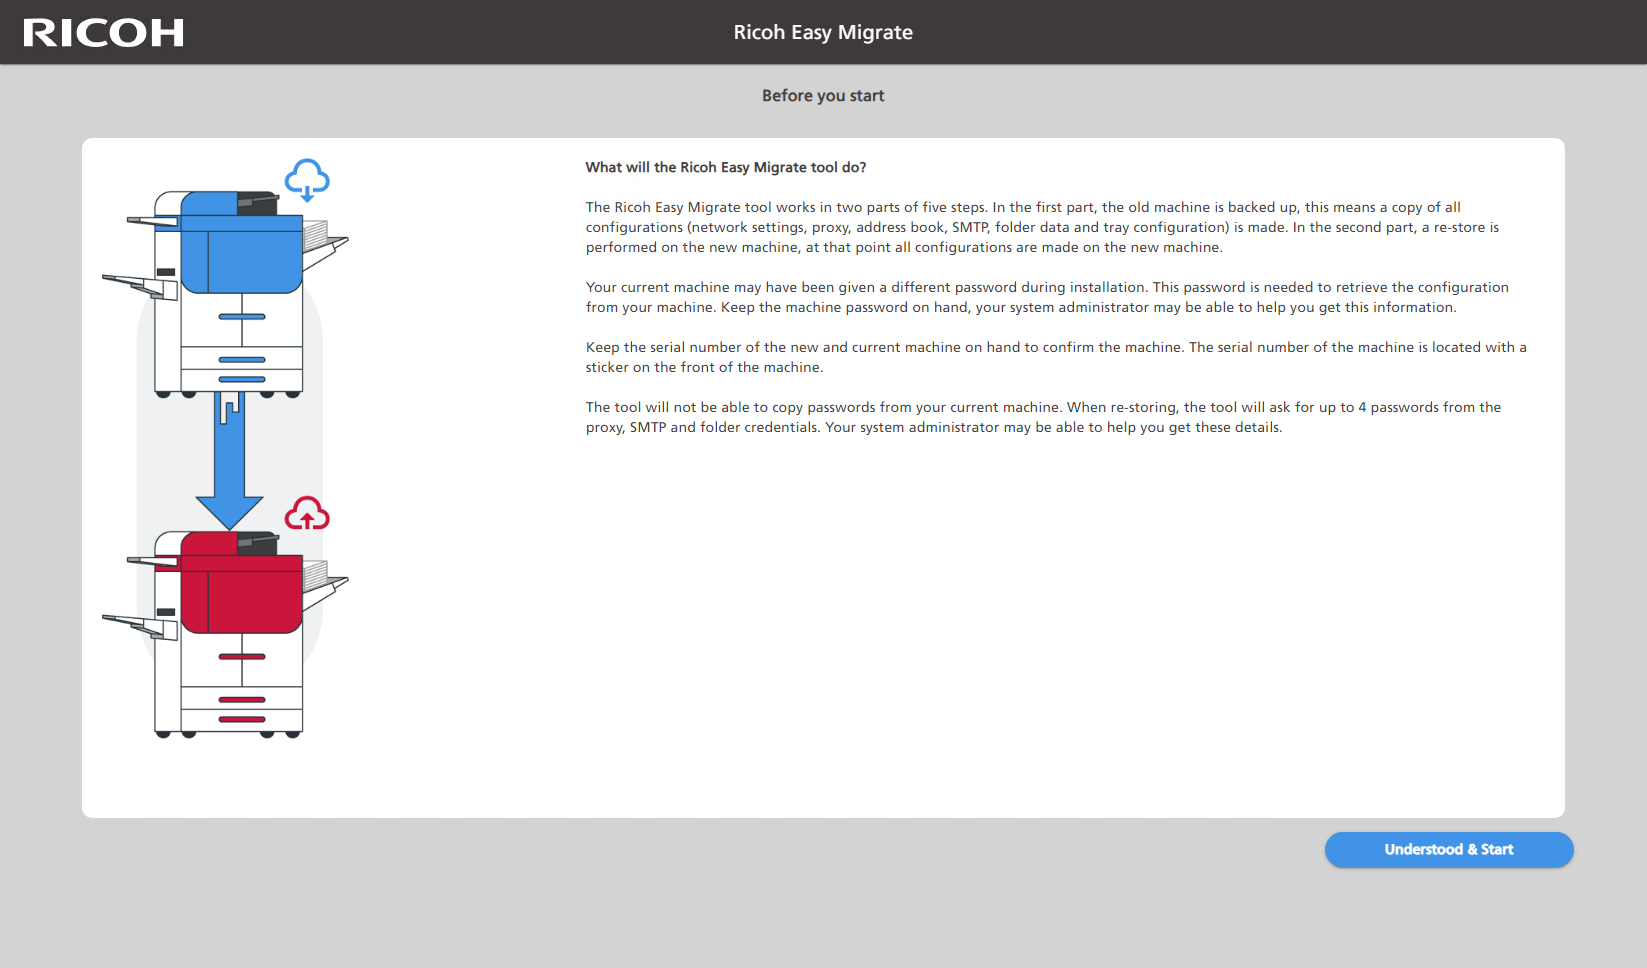
In the screen that follows, the RICOH Easy Migrate tool will explain what it will do and what you need to prepare. A complete overview of the configuration items that will be migrated/copied can be found in this documentation under “Specification”.
Your current (multifunctional) printer may have been given a different password during installation. This password is needed to retrieve the configuration from your (multifunctional) printer. Keep the (multifunctional) printer password on hand, your system administrator may be able to help you get this information.
Keep the serial number of the new and current (multifunctional) printer on hand to confirm the (multifunctional) printer. The serial number of the (multifunctional) printer is located with a sticker on the front of the (multifunctional) printer.
The RICOH Easy Migrate tool will not be able to copy passwords from your current (multifunctional) printer. When re-storing, the tool will ask for up to 4 passwords from the proxy, SMTP (mail) and folder credentials. Your system administrator may be able to help you get these details.
Prepare checklist
- (Optional) Password current (multifunctional) printer
- Serial number (s/n) current (multifunctional) printer
- Serial number (s/n) new (multifunctional) printer
- (Optional) 4 passwords from proxy, SMTP (mail) and folder credentials
After you have collected all the information, click “Understood & Start” to continue to the next step.

Prepare screen
Next steps
The RICOH Easy Migrate tool works in two parts of five and six steps. In the first part, the current (multifunctional) printer is backed up, this means a copy of the configuration is made. In the second part, a restore is performed on the new (multifunctional) printer, at that point all configurations are made on the new (multifunctional) printer.
The following steps will guide you in creating a back-up of your current (multifunctional) printer. Start with “Part 1: Backing up configuration”.
